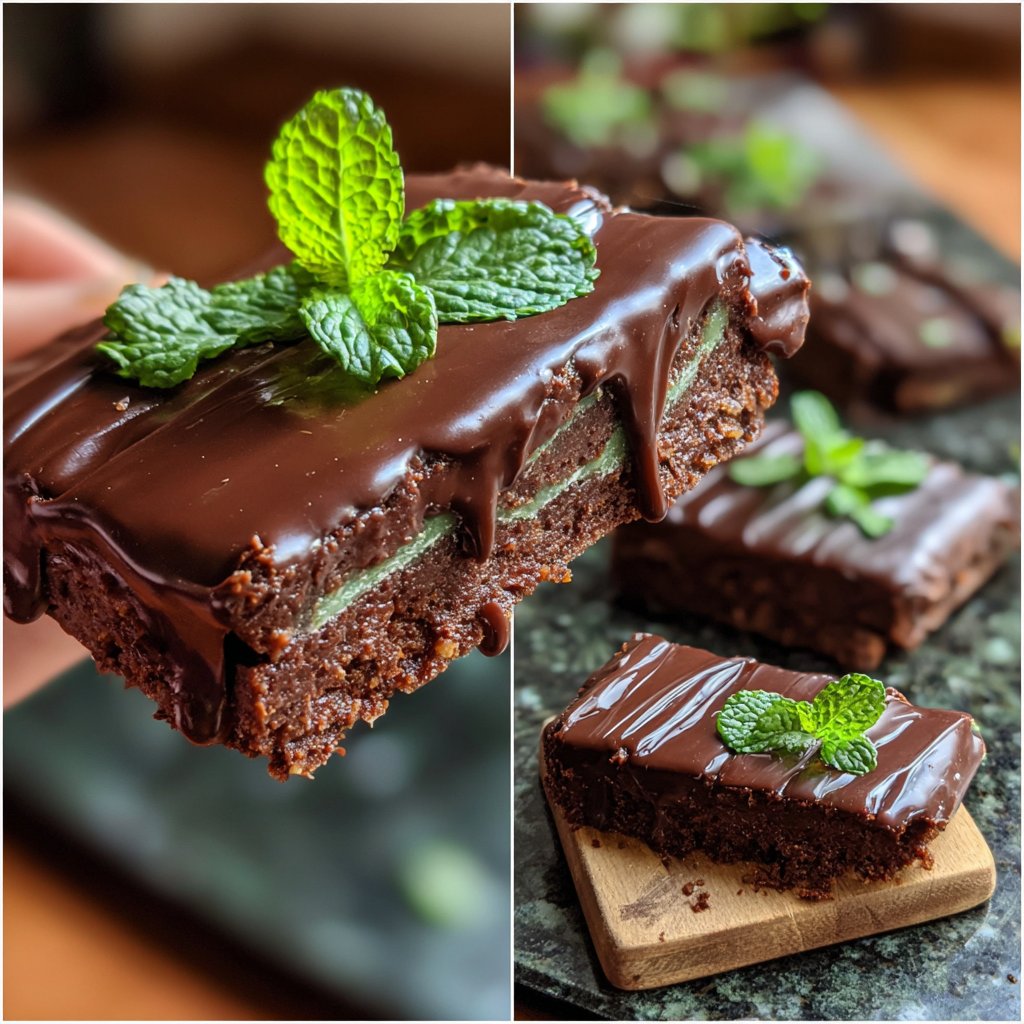
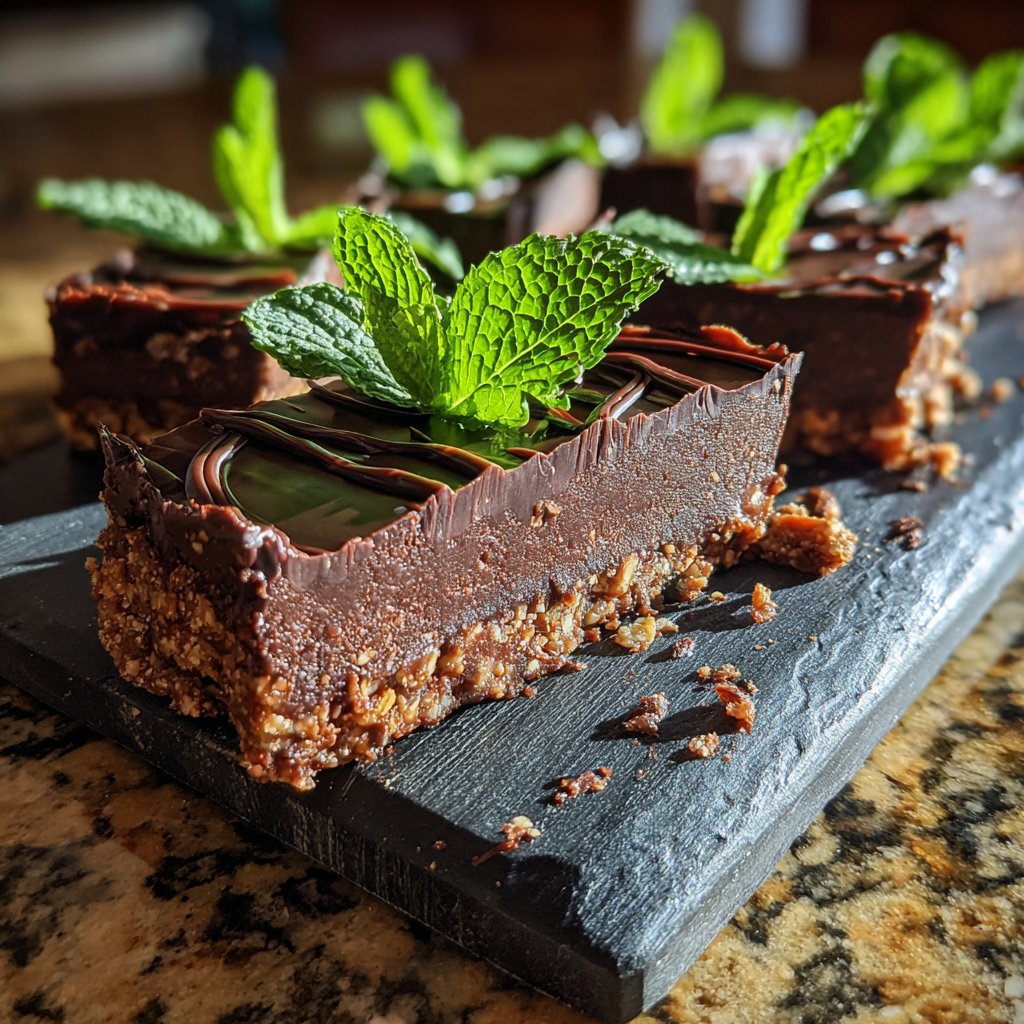
No-Bake Chocolate Mint Bars
Highlighted under: Family Baking
I love making No-Bake Chocolate Mint Bars, especially when I want to impress guests without spending too much time in the kitchen. The layers of chocolate and refreshing mint create a delightful treat that is both satisfying and unique. Plus, there's no baking involved, which means I can whip these up quickly, even on a busy day. Whether it's for parties, holiday gatherings, or just a sweet after-dinner treat, these bars have become my go-to dessert that everyone raves about!
Making No-Bake Chocolate Mint Bars was a delightful experiment for my family. We always loved the combination of chocolate and mint, so I decided to create something special that combined both flavors. I found that using a good quality dark chocolate for the topping made a huge difference, elevating the bars from simple to extraordinary. I also discovered that allowing the bars to chill longer results in a firmer texture, making them easier to cut and serve.
While trying different topping options, I realized that adding crushed peppermint candies not only added a nice crunch but also enhanced the minty flavor! I also recommend using a high-quality peppermint extract for the filling to truly capture that refreshing mint taste. With these tips, our No-Bake Chocolate Mint Bars have become a family favorite that we enjoy preparing together.
Why You'll Love These Bars
- Decadent chocolate flavor balanced with a refreshing minty twist
- No baking required, perfect for quick and easy prep
- Great for parties, gatherings, or simply as a treat at home
Understanding Ingredients
The key to a successful No-Bake Chocolate Mint Bar is in the balance of flavors and textures, which start with a strong base. The crushed graham crackers provide a sturdy foundation, while the cocoa powder adds depth to the flavor. If you're looking for a gluten-free alternative, consider using crushed almond flour or gluten-free cookies instead of the graham crackers. This will maintain the bar's integrity while accommodating dietary restrictions.
The mint layer is where the magic happens, and the choice of peppermint extract significantly impacts the freshness of the dessert. Make sure to use a high-quality extract, as it can elevate the dish. If you'd like to experiment with flavors, you could also incorporate other extracts, like vanilla or even a hint of almond, for a unique twist. Adjust the sugar accordingly if you choose to balance out the stronger flavors.
Perfecting the Chocolate Topping
Melting the chocolate for the topping requires a gentle approach to avoid burning it. Using a double boiler is ideal, but if you opt for the microwave, heat the chocolate chips in bursts of 20 seconds, stirring in between until you achieve a glossy, smooth consistency. If your chocolate starts to seize, a splash of milk can help rescue it, restoring its creamy texture for an even pour over the mint layer.
The vegetable oil in the chocolate topping plays a crucial role in achieving a shiny finish and a silky texture. If you're looking for a dairy-free option, use coconut oil or a non-dairy butter substitute instead. The final layer should be poured while the chocolate is still warm; this helps it adhere to the mint layer, preventing separation when serving.
Storage and Serving Suggestions
After chilling, these bars can be stored in an airtight container in the fridge for up to a week. For longer storage, you can freeze them wrapped individually in plastic wrap, then place them in a freezer-safe bag. They maintain their flavor well, and thawing them in the fridge overnight will keep their texture intact. Just remember to slice them before freezing for easy serving later.
For a stunning presentation, consider adding a sprinkle of crushed peppermint candies or cocoa nibs on top after spreading the chocolate. This not only enhances the visual appeal but also adds a delightful crunch. Serving alongside a scoop of vanilla ice cream can elevate this dessert further, creating a delightful contrast between the coolness of the ice cream and the rich chocolate-mint layers.
Ingredients
Ingredients:
Base Layer
- 1 cup crushed graham crackers
- 1/2 cup unsweetened cocoa powder
- 1/2 cup powdered sugar
- 1/2 cup unsalted butter, melted
Mint Layer
- 1 cup powdered sugar
- 1/4 cup unsalted butter, softened
- 1 teaspoon peppermint extract
- 2 tablespoons milk
- Green food coloring (optional)
Chocolate Topping
- 1 cup dark chocolate chips
- 1 tablespoon vegetable oil
Instructions:
Instructions
Steps:
Make the Base Layer
In a mixing bowl, combine crushed graham crackers, cocoa powder, powdered sugar, and melted butter. Stir until well combined. Press the mixture into the bottom of a lined 8x8 inch pan to create an even layer.
Prepare the Mint Layer
In another bowl, mix powdered sugar, softened butter, peppermint extract, and milk until smooth. If desired, add green food coloring to achieve your preferred minty color. Spread the mint mixture over the base layer evenly.
Prepare the Chocolate Topping
Melt the dark chocolate chips with vegetable oil in the microwave or in a double boiler, stirring until smooth. Pour the melted chocolate over the mint layer and spread evenly.
Chill and Serve
Refrigerate the bars for at least 2 hours or until firm. Once set, remove from the pan and cut into squares. Enjoy your delightful No-Bake Chocolate Mint Bars!
For the best experience, serve chilled and store any leftovers in the refrigerator.
Pro Tips
- To enhance the flavor, consider topping with crushed nuts or additional mint sprinkles. You can also adjust the amount of peppermint extract based on your personal preference for mint intensity.
Troubleshooting Common Issues
If your bars are too soft after chilling, this can often be attributed to too much moisture in the mint layer. Ensure that each ingredient is measured accurately. Adding a little more powdered sugar can help absorb excess moisture and firm up the layers. It's essential to allow enough chill time; if they remain too warm, they won't set properly.
On the other hand, if the base layer crumbles when cutting, it may not have been pressed firmly enough into the pan. When forming each layer, press down firmly using a flat measuring cup or your hands to create a compact surface. This technique will create a well-integrated base, ensuring clean cuts and a more satisfying texture.
Creative Variations
These No-Bake Chocolate Mint Bars are highly adaptable! For a festive touch, consider adding crushed peppermint candies to the mint layer for added texture and a pop of color. Alternatively, you could replace the dark chocolate topping with white chocolate for a striking contrast. If you're preparing for a special occasion, drizzling the finished bars with melted chocolate or adding a layer of nut butter can create an elegant finish.
In addition to mint, you could experiment with different flavors for the middle layer. A chocolate hazelnut spread could bring a delightful twist, or for a fruitier option, consider a raspberry extract mixed with the powdered sugar for a refreshing change. These variations keep the base recipe intact while allowing you to personalize the bars to suit your taste or the occasion.
Questions About Recipes
→ Can I use a different type of cookie for the base?
Yes! You can use any crushed cookies like Oreos or chocolate digestives for a different flavor.
→ How long can I store these bars?
These bars can be stored in an airtight container in the refrigerator for up to a week.
→ Can I freeze the bars?
Absolutely! You can freeze them for up to 3 months. Just allow them to thaw in the refrigerator before serving.
→ What can I use if I don't have peppermint extract?
You can substitute it with mint extract, but keep in mind that mint extract can be more potent, so start with a smaller quantity.
No-Bake Chocolate Mint Bars
Created by: The Hannahsrecipes Team
Recipe Type: Family Baking
Skill Level: Easy
Final Quantity: 16 bars
What You'll Need
Base Layer
- 1 cup crushed graham crackers
- 1/2 cup unsweetened cocoa powder
- 1/2 cup powdered sugar
- 1/2 cup unsalted butter, melted
Mint Layer
- 1 cup powdered sugar
- 1/4 cup unsalted butter, softened
- 1 teaspoon peppermint extract
- 2 tablespoons milk
- Green food coloring (optional)
Chocolate Topping
- 1 cup dark chocolate chips
- 1 tablespoon vegetable oil
How-To Steps
In a mixing bowl, combine crushed graham crackers, cocoa powder, powdered sugar, and melted butter. Stir until well combined. Press the mixture into the bottom of a lined 8x8 inch pan to create an even layer.
In another bowl, mix powdered sugar, softened butter, peppermint extract, and milk until smooth. If desired, add green food coloring to achieve your preferred minty color. Spread the mint mixture over the base layer evenly.
Melt the dark chocolate chips with vegetable oil in the microwave or in a double boiler, stirring until smooth. Pour the melted chocolate over the mint layer and spread evenly.
Refrigerate the bars for at least 2 hours or until firm. Once set, remove from the pan and cut into squares. Enjoy your delightful No-Bake Chocolate Mint Bars!
Extra Tips
- To enhance the flavor, consider topping with crushed nuts or additional mint sprinkles. You can also adjust the amount of peppermint extract based on your personal preference for mint intensity.
Nutritional Breakdown (Per Serving)
- Calories: 200 kcal
- Total Fat: 10g
- Saturated Fat: 5g
- Cholesterol: 15mg
- Sodium: 50mg
- Total Carbohydrates: 28g
- Dietary Fiber: 1g
- Sugars: 20g
- Protein: 2g